Battle.net Configuration
Windows :
- Diablo · Diablo II · StarCraft · WarCraft II · WarCraft III
UNIX :
- Diablo · Diablo II · StarCraft · WarCraft II · WarCraft III
Westwood Online Configuration
Windows :
UNIX :
Administration
BNETD · Address Translation · Version Check · Auto Update · Diablo II Realm · Command Groups · MOTD · News · Chat Channels
Installing PvPGN server on Windows
Software and files you need:
- PvPGN server
- PvPGN support files
- MySQL server (optional)
You can get the pvpgn server files from the official website (http://pvpgn.berlios.de/).
At the time the latest pvpgn server files are:
Downloading the software and files:
From the http://pvpgn.berlios.de/ website:
- point your browser to the above website
- click Download
- select your required files (pvpgn server type and pvpgn support files)
- save them on your local hard-drive.
Since this is a Windows installation guide we’ll get the *.zip files, so that we can work with them easily in Windows.
After getting pvpgn files, we also need to download the mysql server (optional).
From the http://dev.mysql.com/downloads/mysql/5.1.html website:
- point your browser to the above website
- scroll down to the Windows downloads section
- pick a download mirror for your required file (Windows MSI Installer for required Windows platform)
- save it on your local hard-drive.
Extracting and installing the software and files:
After we have all this files in one place we’ll start the real job.
Extract the files from their archives, this we will be done using the Windows unzip tool.
(comes as part of Windows):
First we'll extract the pvpgn server:
- right click on PvPGN-1.8.5-0-Win32-*.zip --> Extract All...
- extract the files to C:\Program Files\
Second we'll extract the pvpgn support files:
- right click on pvpgn-support-1.2.zip --> Extract All...
- extract the files to C:\Program Files\pvpgn-1.8.5\
- browse into C:\Program Files\pvpgn-1.8.5\pvpgn-support-1.2\
- select all files and copy them into C:\Program Files\pvpgn-1.8.5\files\
Third we'll install mysql (optional):
- double click on mysql-5.1.32-win32.msi
- follow install prompts
Configuring the software and files:
You can find more information on what exactly needs doing in the discussion for this article. Remember to use the Manual of Style and to remove this template once the article has been expanded.
After completing the above steps, you need to edit the /conf/bnetd.conf file for the pvpgn server to start. You must enter the mysql server information so that the pvpgn server can use it as a storage method (optional):
First you must create an empty database in the mysql server, so that it can be used be pvpgn server. Login into your mysql server to do this:
- Update: More info to come about setting up MySQL User Account, Password, and Database.
Second you must create a proper entry in your /conf/bnetd.conf, which will allow pvpgn server to use the mysql server and database:
Open the /conf/bnetd.conf file in your preferred editor (I’ll use edit, a text based editor):
- click Start --> Run --> cmd
- Ok
C:\> cd C:\Program Files\pvpgn-1.8.5\conf\
C:\Program Files\pvpgn-1.8.5\conf> edit bnetd.conf
After opening the file in the editor, search for the default settings for storage engine.
This is a line that is starts with:
storage_path = file:mode=plain;dir=
After you find it, you must comment it so that the pvpgn server ignores it. You can do this by a placing a # character in front, like:
# storage_path = file:mode=plain;dir=
Now you must setup your own storage engine configuration. To do it, you must write in the file immediately below the commented line above (optional):
storage_path = sql:mode=mysql;host=localhost;name=db_name;user=mysql_user;pass=mysql_pass;default=0
where:
db_name is the database name – in our case – pvpgn
mysql_user is the mysql user used to connect to mysql server – in our case – root
mysql_pass is the mysql user password – in our case – mysql
so the entire line will be (optional):
storage_path = sql:mode=mysql;host=localhost;name=pvpgn;user=root;pass=mysql;default=0
Starting the pvpgn server:
- browse into C:\Program Files\pvpgn-1.8.5\
- double click on PvPGN.exe
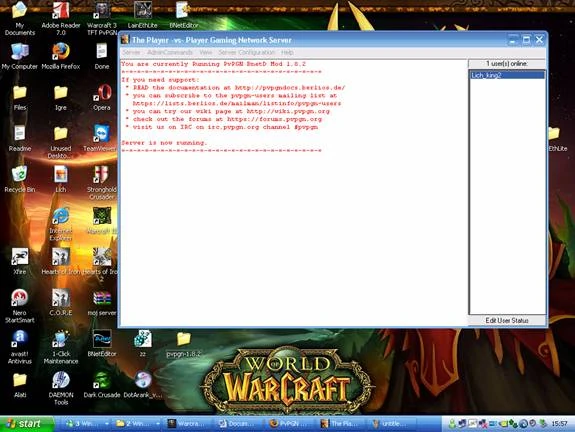
Congratulations! You made a PvPGN Server.
If you encounter any problem you can check the log file generated automatically by the pvpgn server in C:\Program Files\pvpgn-1.8.5\var\bnetd.log.