Installing phpMyAdmin on UNIX[]
This is a great free tool that is helping any administrator to work with his mysql server and databases. It's a free php script that needs a web server with php and mysql support already compiled and installed in order to work. To set up the mysql server take a look at the Install PvPGN server on UNIX article and for setting up web server with php support take a look at the Apache with PHP Support from Source article.
The easy part - getting the sources[]
You can get the latest official sources from:
http://www.phpmyadmin.net/home_page/downloads.php
at the time of writing this the latest stable version is 2.11.6
You can choose whatever package you want, for this tutorial I'll choose only the package with the english language named english.tar.gz. After we downloaded the wanted package, we move it to /usr/src directory if downloaded on the server directly or we upload the archive to the /usr/src/ directory if downloaded on other computer. On the server we'll unpack the phpmyadmin release using:
cd /usr/src/
tar xf phpMyAdmin-2.11.6-english.tar.gz
which will result in a new directory:
phpMyAdmin-2.11.6-english
Now we will rename the new directory to something that we want, in this tutorial we'll use phpmyadmin:
mv phpMyAdmin-2.11.6-english phpmyadmin
The not so easy part - getting it to work[]
Now we have to move the phpmyadmin directory to the web server htdocs directory, in this tutorial this will be /opt/apache228/htdocs/
mv phpmyadmin /opt/apache228/htdocs
Now we have to start the mysql and the httpd server (if not already done) and point our browser to the IP / DNS of our server, in this tutorial i'll use the 10.10.10.250 ip address for exemplification:
http://10.10.10.250/phpmyadmin
or
http://your.dns.record/phpmyadmin
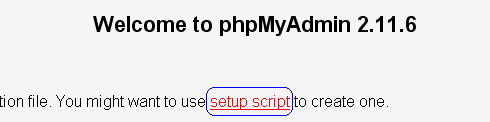
If everything is running correctly you should see a similar page:

If you did see this then we are ok, we can continue. Now you must go in the htdocs directory and then in phpmyadmin directory:
cd /opt/apache228/htdocs/phpmyadmin
Now you have to create a new directory called config:
mkdir config
And give it full permissions:
chmod 777 config
Now we return to the web page and click the setup script link, showed on the page:
After clicking it a new page shows and looks like:
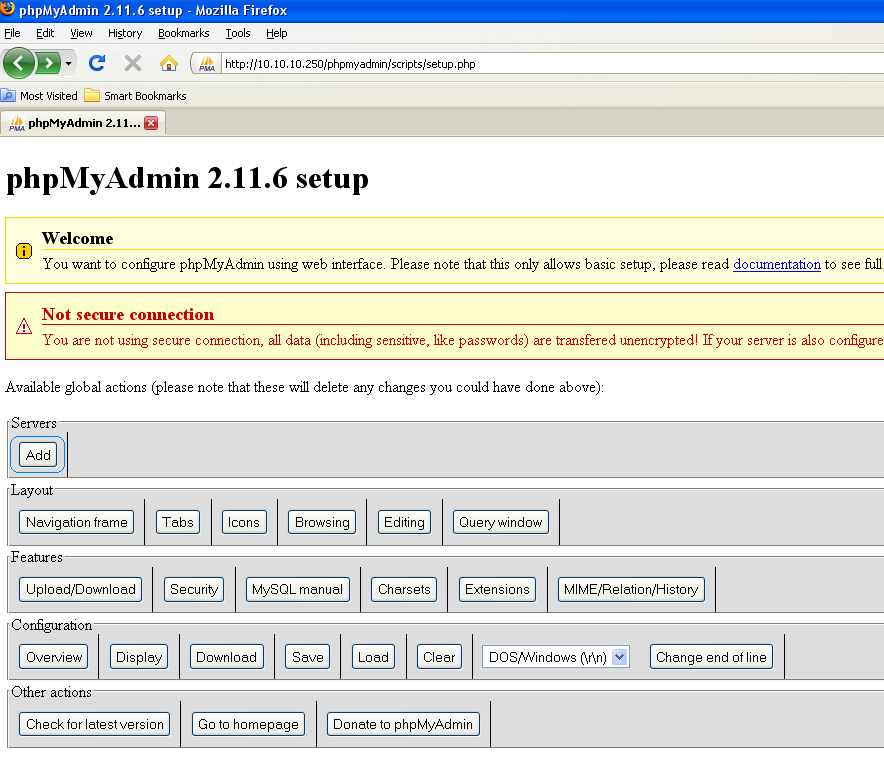
On this page we must click the Servers -> ADD button, that will lead us to the following page:
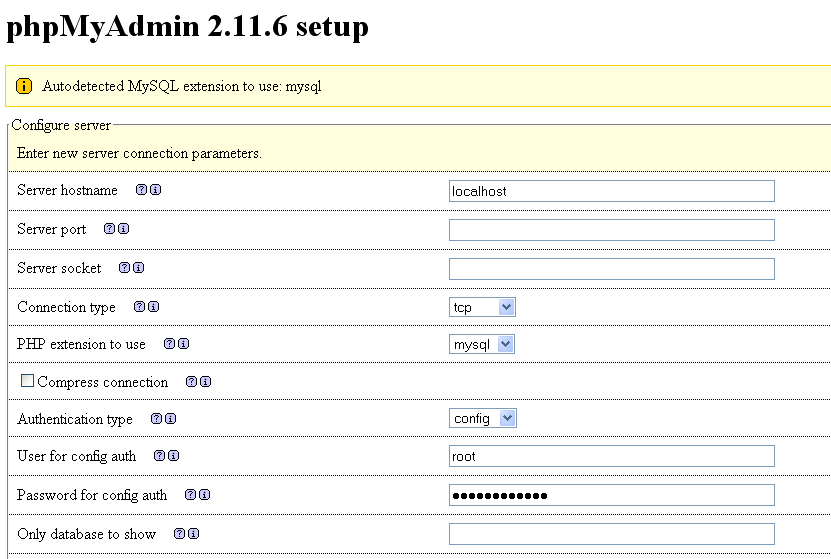
From the autodetected value we need to change some off them for a easy working:
Authentication type - set it to - http
User for config auth and Password for config auth - set them to - ( nothing )
After changing all the above, just click the green little Add button. Now a similar page should be displayed:

Now depending on the operating system we need to change (or not) the end of line caracter, that default is for windows:
DOS/Windows (\r\n)
but in this tutorial we worked in linux so we need to change it to:
UNIX/Linux (\n)
After all this finally we click the Configuration -> Save button.
Now we get back into the shells (still in /opt/apache228/htdocs/phpmyadmin directory) and copy the new generated config file to the top level of phpmyadmin directory:
cp config/config.inc.php .
then we remove the config directory created earlier:
rm -f config/
then we go back to the web browser and point again it to:
http://10.10.10.250/phpmyadmin
or
http://your.dns.record/phpmyadmin
and you should see a pop-up window like:

In the User Name and Password fields you must enter a valid user name and password from your mysql server.
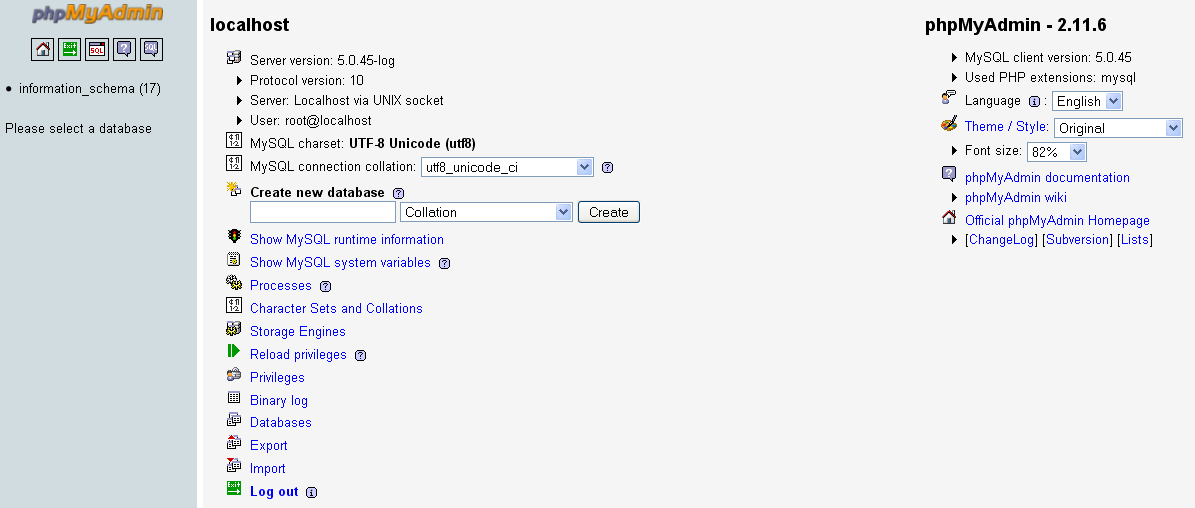
If their where correct you should see the real face and utility of phpmyadmin: